
Non-destructive Testing (NDT) covers a diverse range of techniques designed for assessing the integrity of materials, most typically metals. Applications include evaluating compliance of fabricated items with material specifications and identifying degradation which can occur during the service life of equipment or structures.
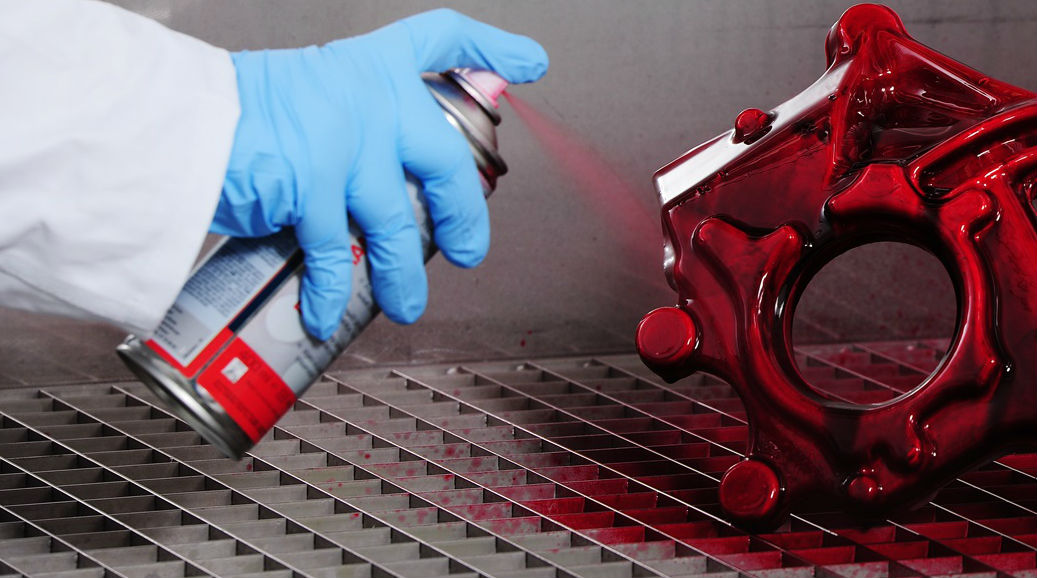
Dye penetrant inspection is designed to aid the visual inspection of surface breaking flaws such as cracks, porosity, seams and other surface discontinuities. This involves first cleaning the item to remove any excess contaminants from the part surface which may mask any surface breaking discontinuities. It can be applied on both ferrous and non-ferrous materials and all non-porous materials (metals, plastics or ceramics).

Magnetic particle inspection is a surface inspection method used to aid the visual inspection of ferrous parts for surface breaking discontinuities. This involves first cleaning the part to remove any excess contaminants from the part surface which may mask any surface breaking discontinuities or interfere with the migration of magnetic particles during the test. This type of inspection is widely used as it can give an immediate indication of defects and discontinuities.

An ultrasonic transducer pulses high-frequency sound into the inspection part at a given angle. Any discontinuities perpendicular to the inspection beam reflect the sound back to the transducer and form a response signal. Using multiple probes of differing angles, the technician can size the internal discontinuity, classify it and plot its location within the inspection material to determine its compliance or inform production where to conduct the repair.
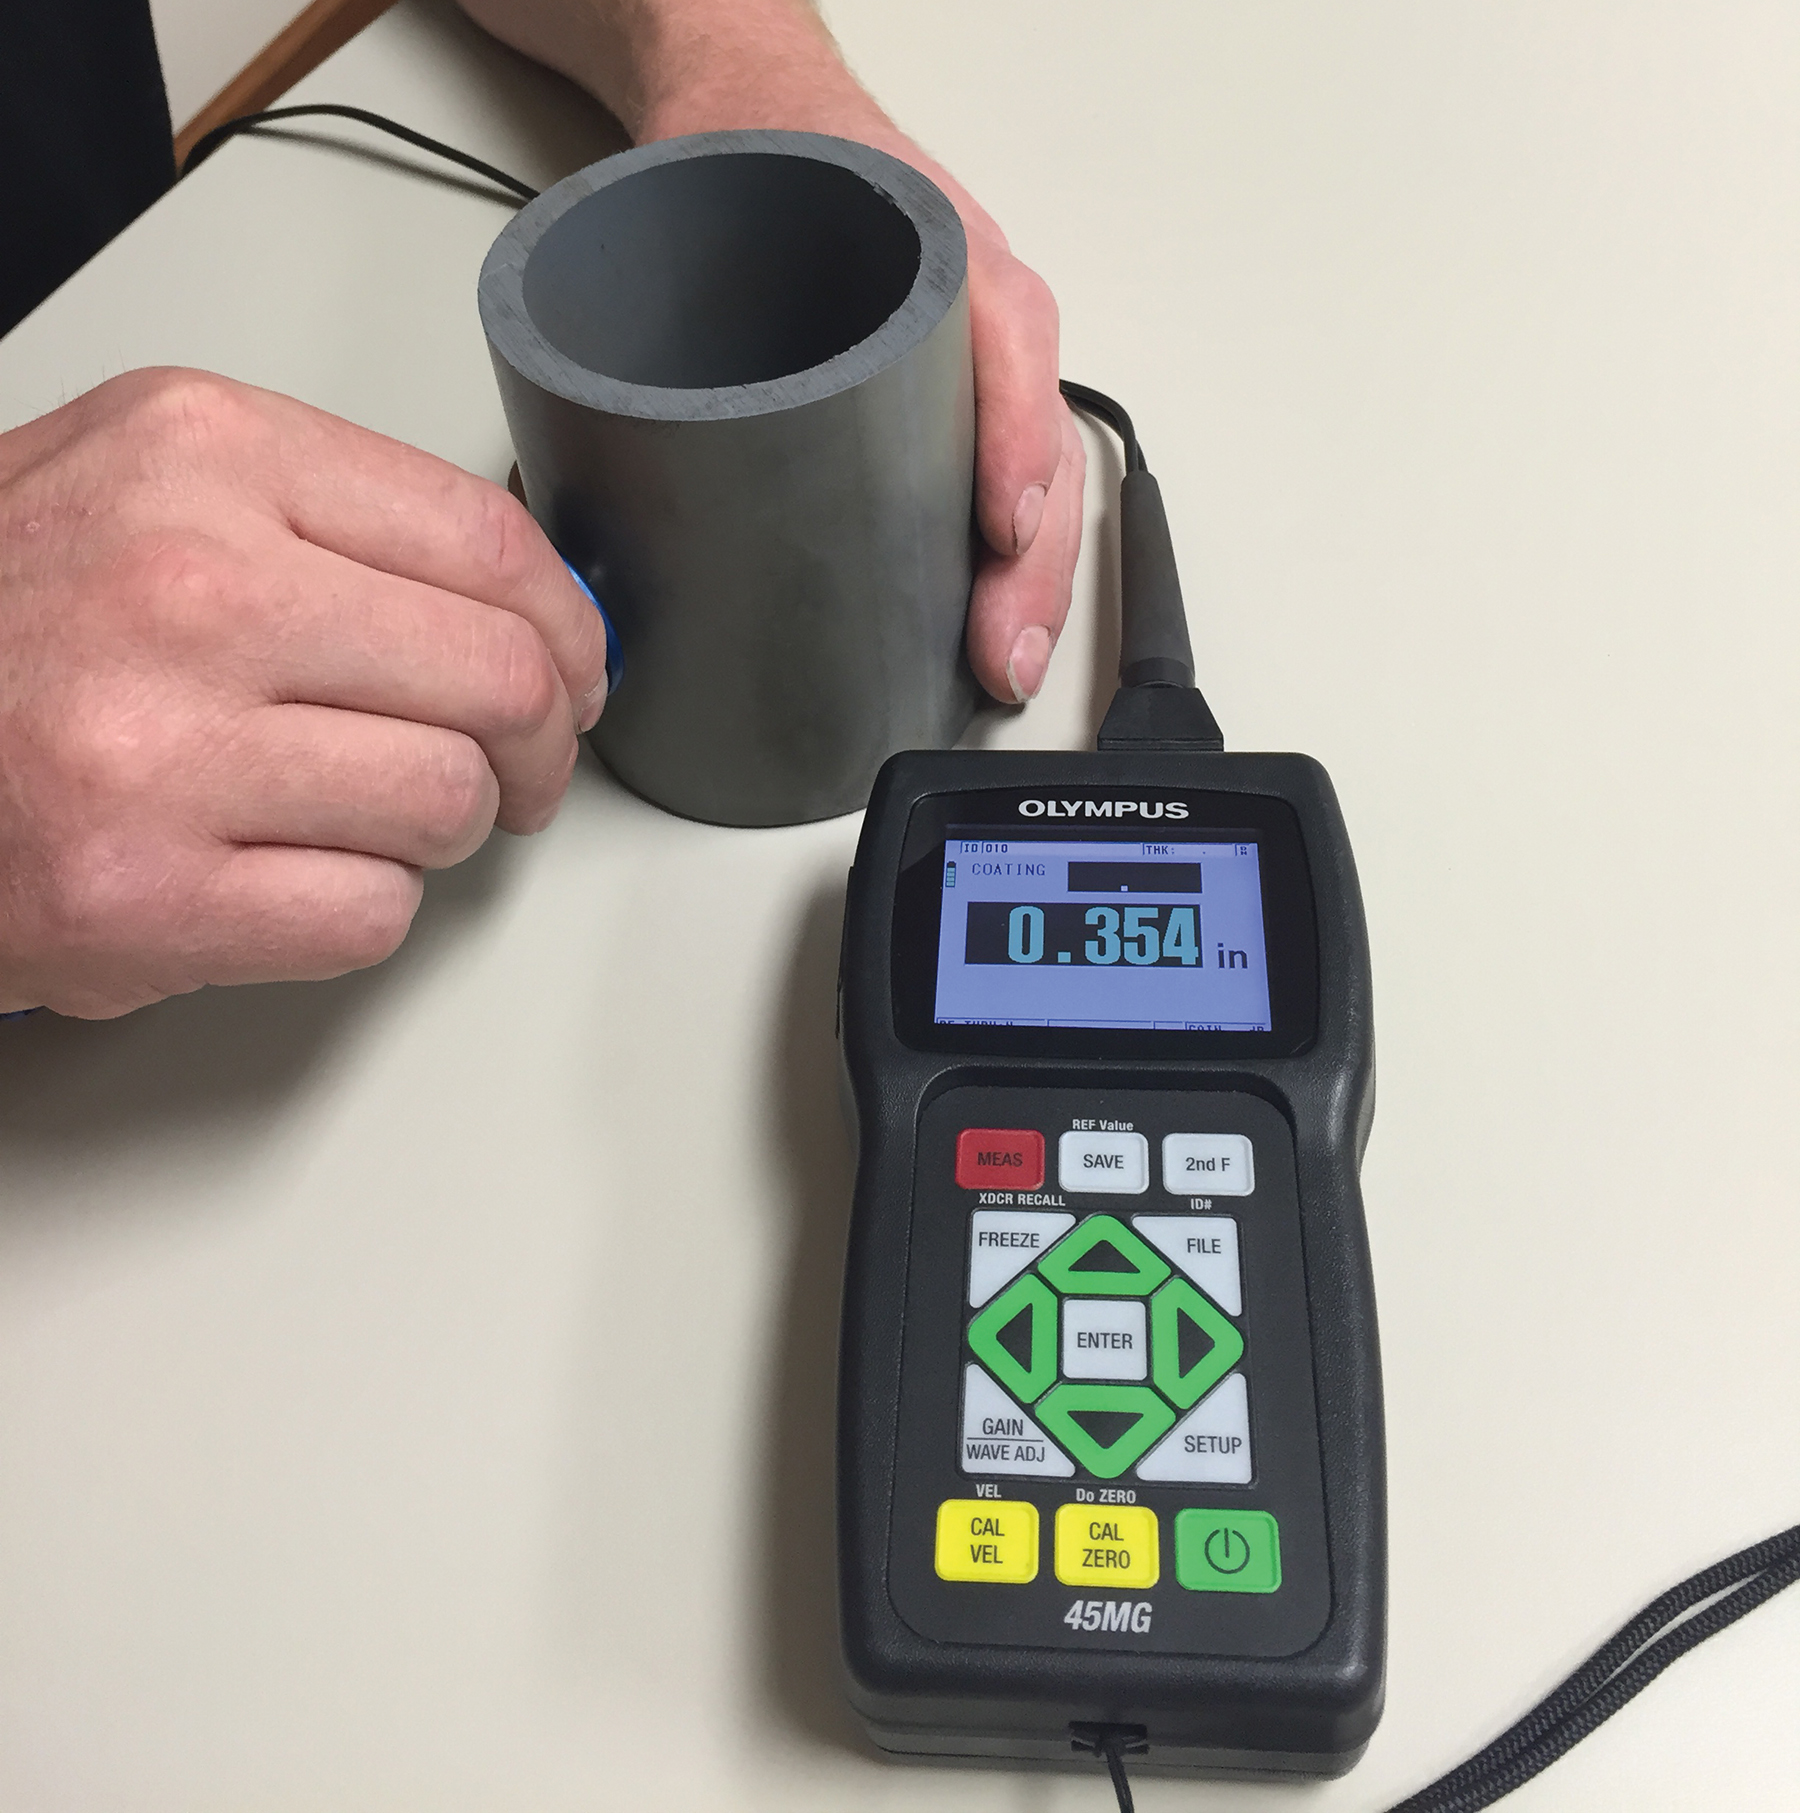
Ultrasonic thickness testing uses high-frequency sound to measure a material thickness with the use of specialist equipment and probes. Ultrasonic thickness inspection works by pulsing sound into the test part and “listening” for the echo response. The thickness is determined using the time taken for the sound to travel through the part as well as the known velocity of sound in the inspection material.
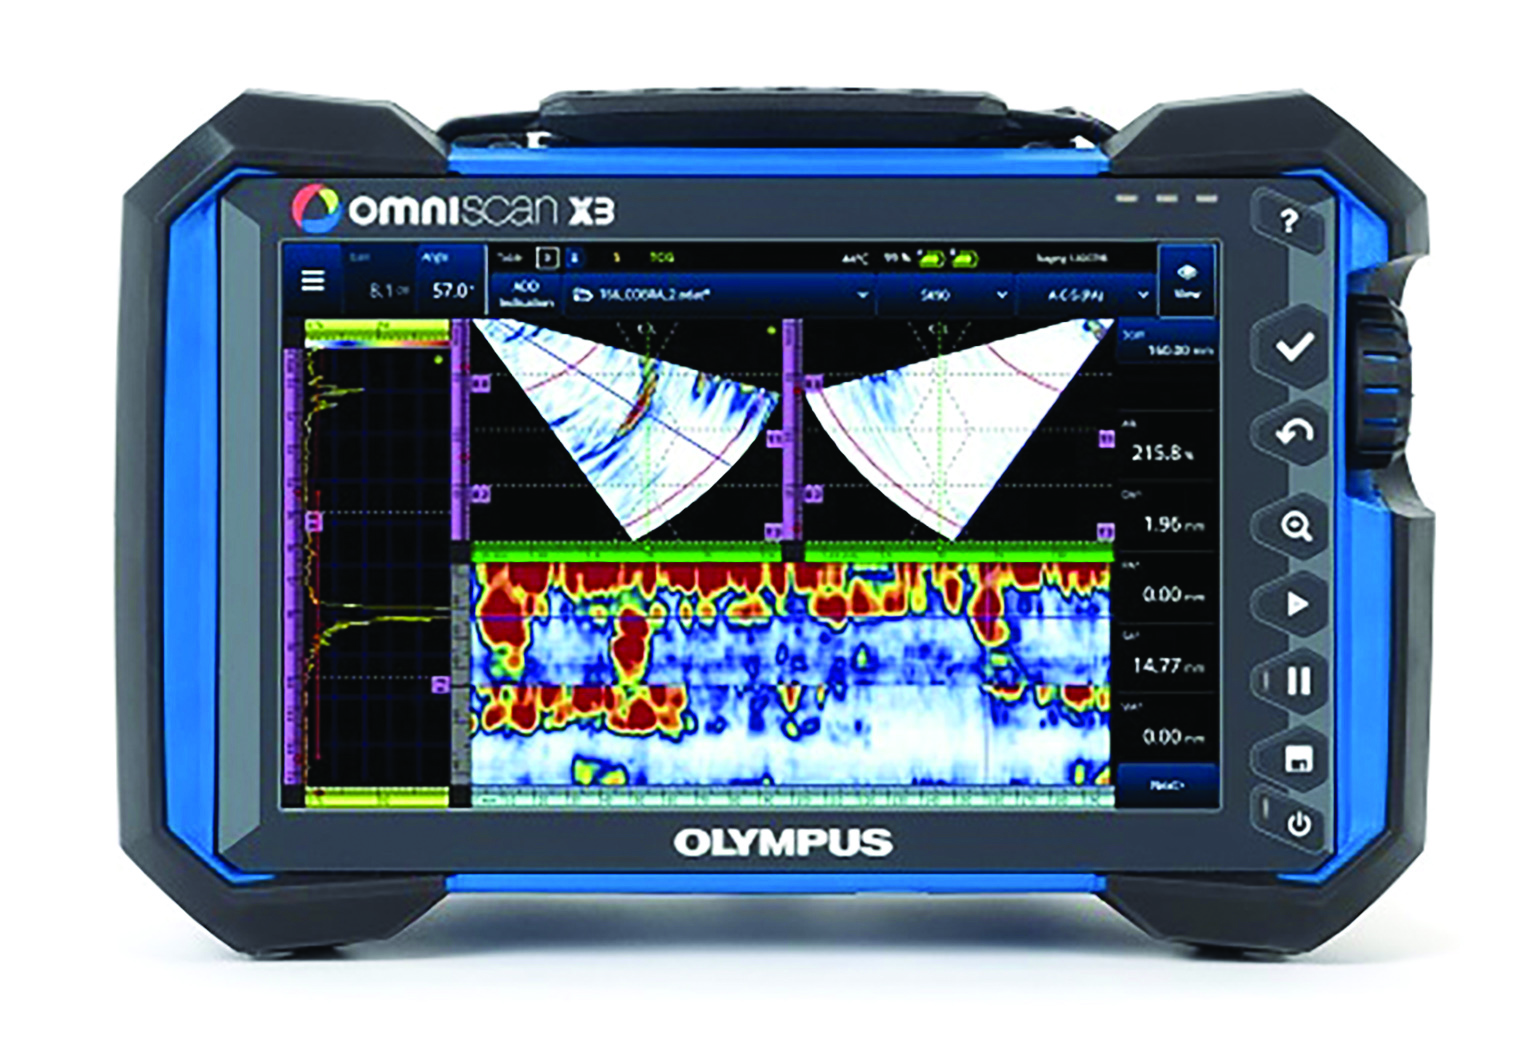
Phased array is an advanced method of ultrasonic testing and can be used for a multitude of different inspection tasks including weld inspection, volumetric inspection of forging or casting materials, erosion and corrosion mapping and scanning highly complex geometry components. This technique is used to detect flaws that cannot be easily found with conventional NDT methods. It allows for faster examinations and information can be displayed in multiple display formats which results in a more accurate interpretation of flaws.
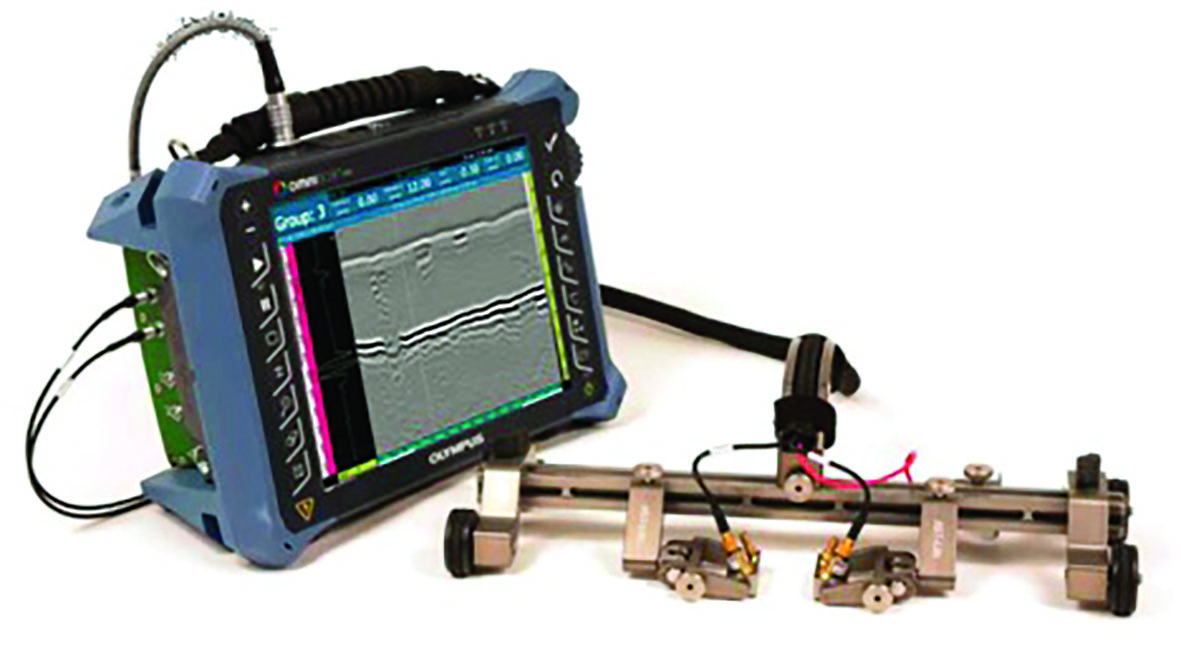
Time of flight diffraction is an advanced non-destructive testing method used for weld inspection. It is one of the most reliable NDT methods in testing welds for both pre services and in service inspection. An accurate assessment of welds is vital to ensure that the stability and integrity of welded structures is not compromised by defects. It can be used in a diverse range of industries and can take place during production work (no shutdown required) as radiation is not used. Inspection results are immediately available and data is recorded and can be stored digitally for future reference.
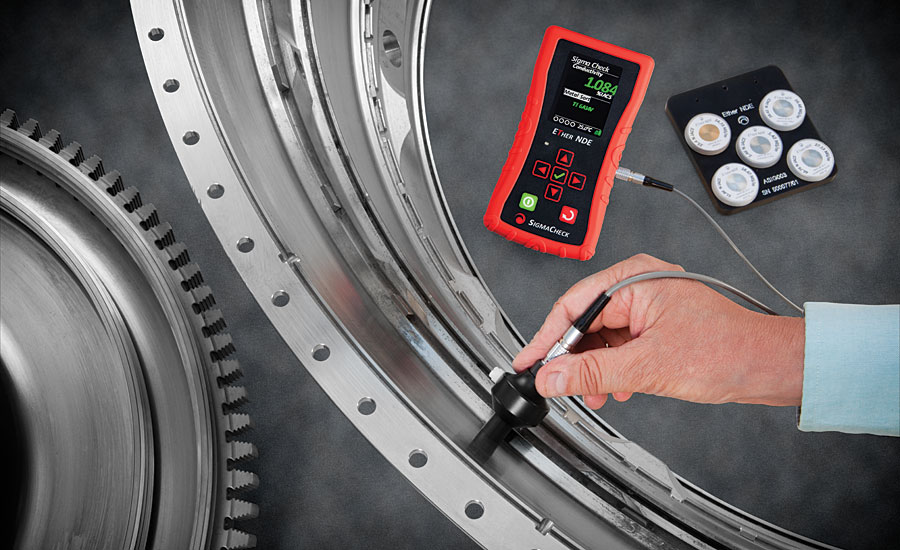
Eddy Current Testing is a versatile NDT method that can be used to detect (near) surface defects in conductive materials without removing the coating. An electromagnetic inductor is used to generate a magnetic field. Eddy Current testing is ideal for various on-site and plant inspections. Flaws can be reported immediately allowing for a more streamlined service between customer and client.
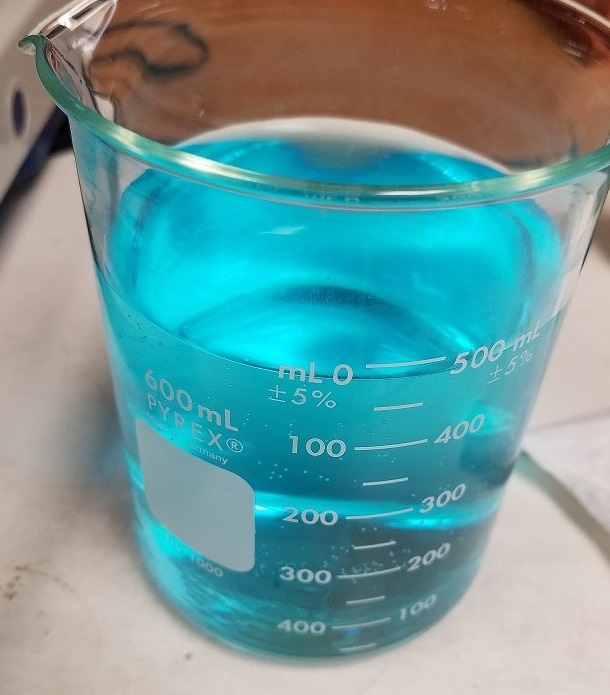
Copper sulphate (CuS04) Inspection is a chemical spot test used by QMS technicians to identify the presence of non-ferrous coatings on a ferrous substrate i.e. nickel plating on carbon steel.
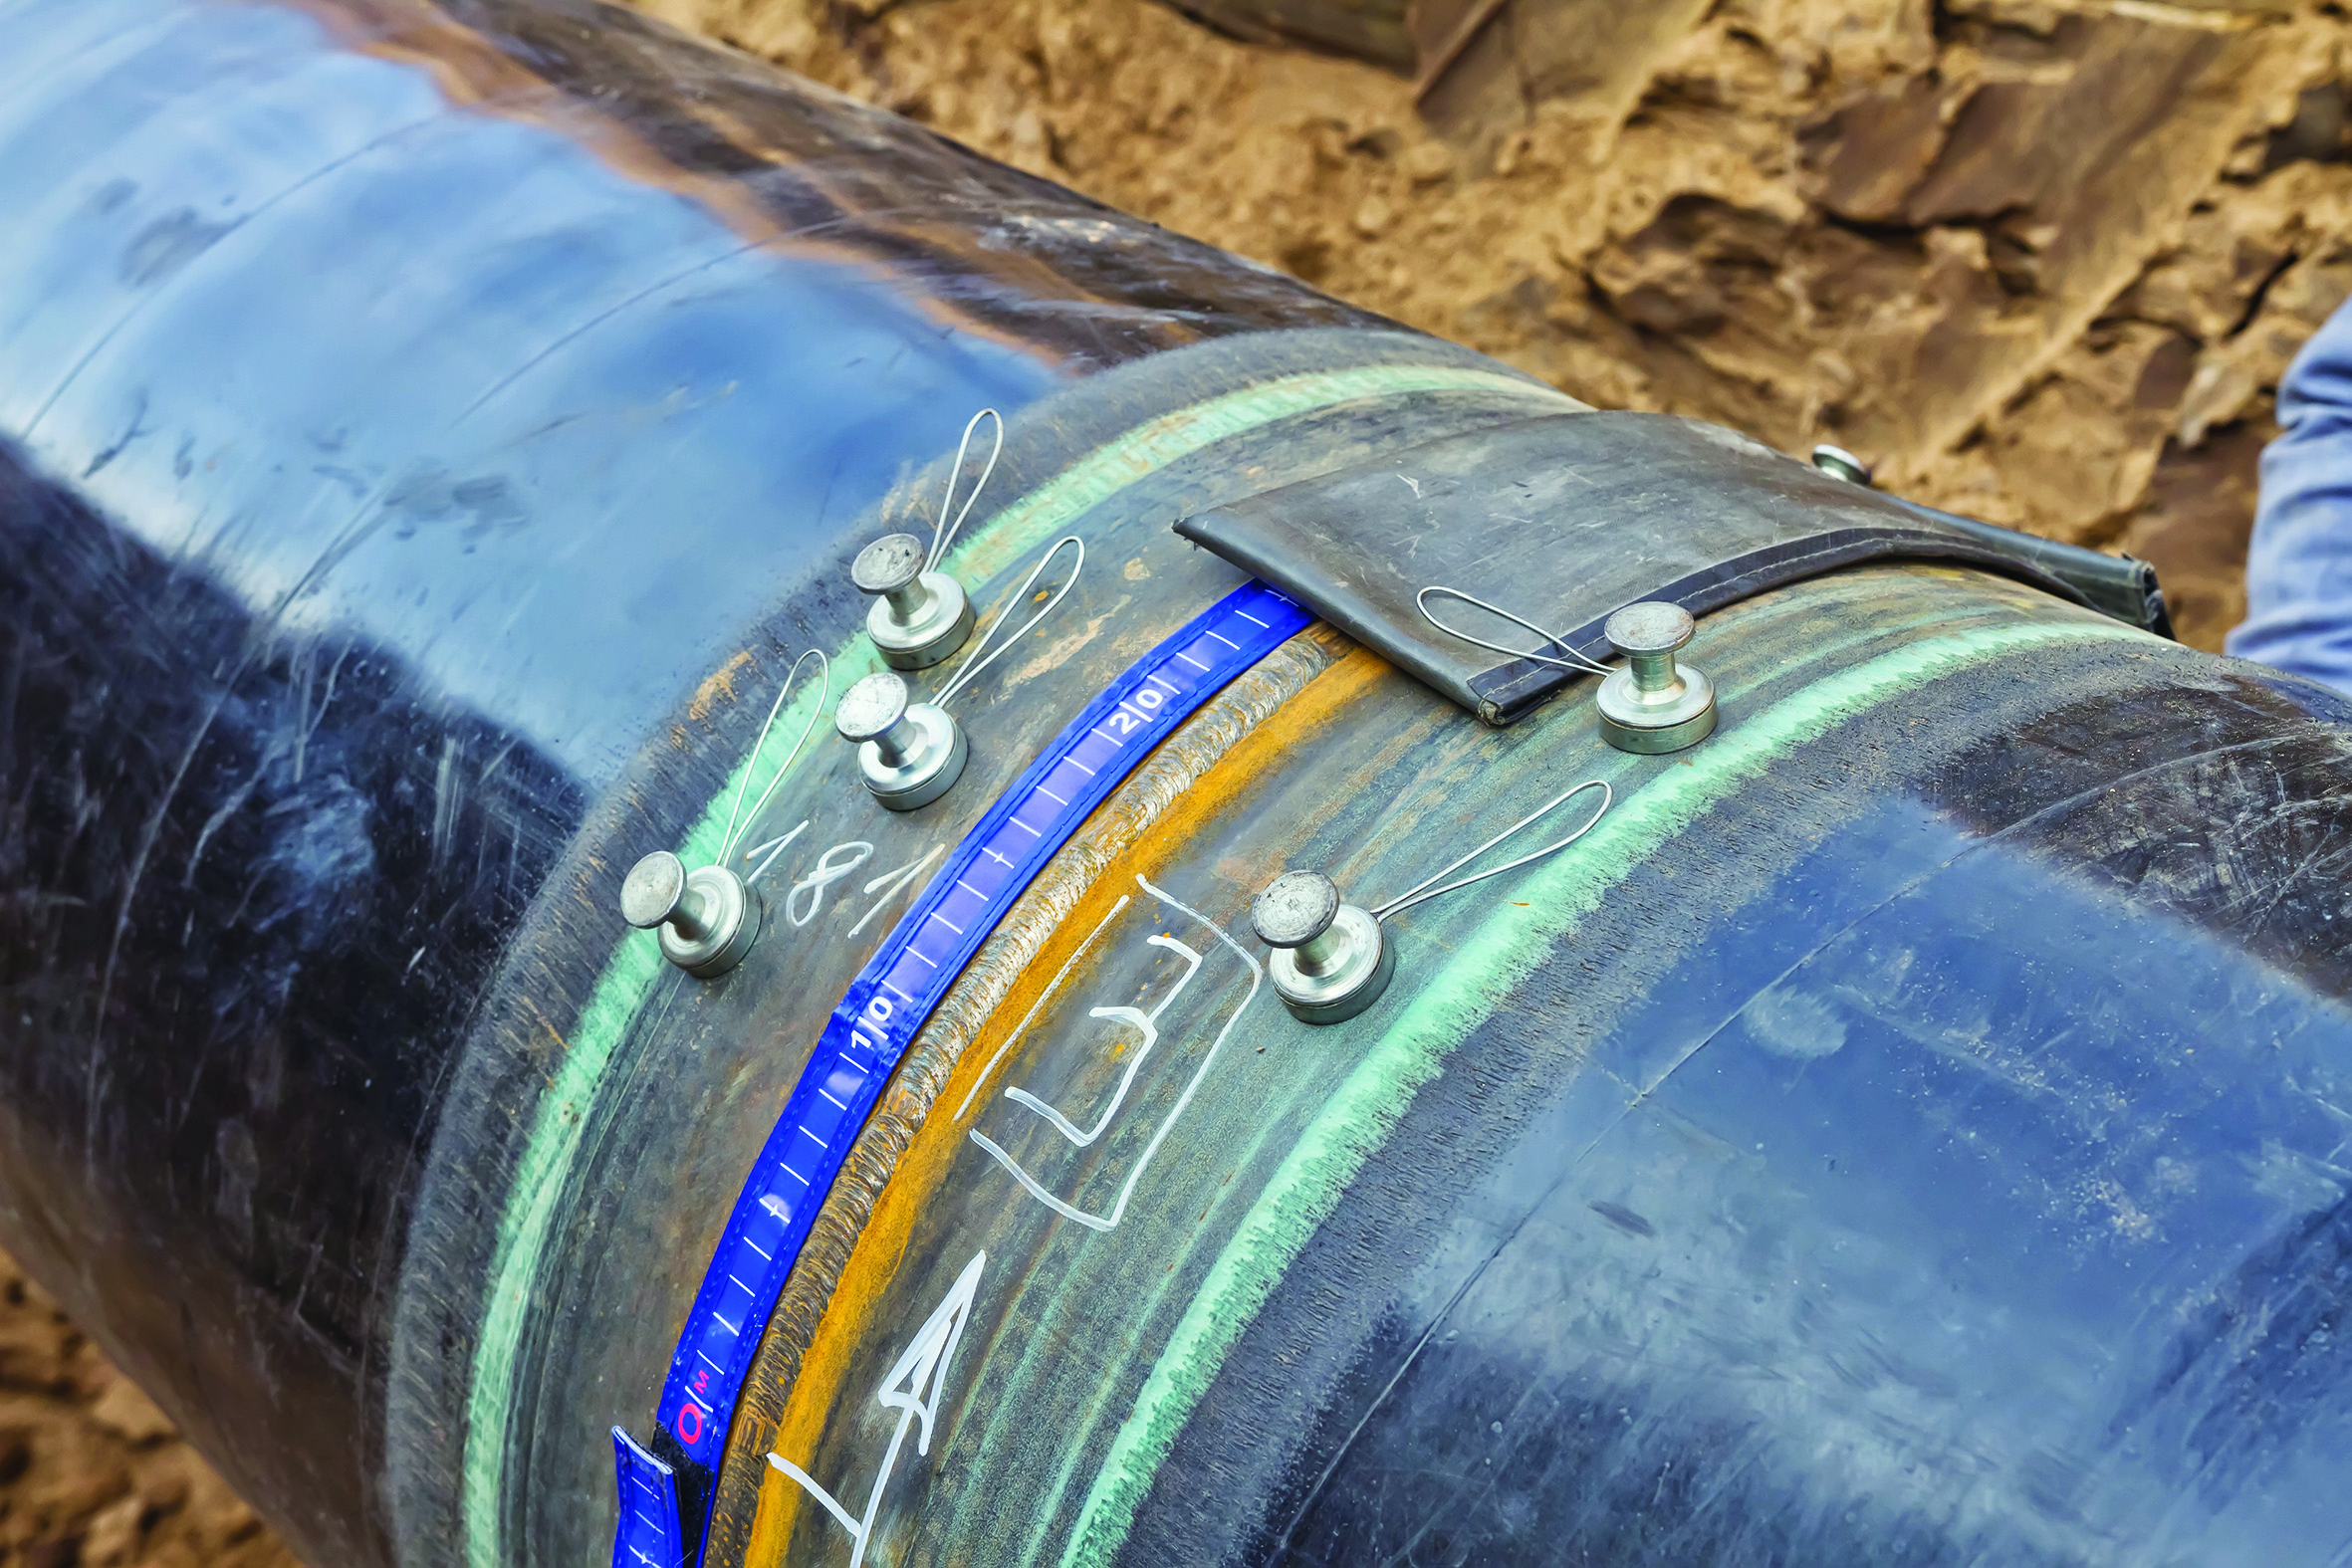
Radiographic Testing uses either x-rays or gamma rays to examine the internal structure of manufactured components identifying flaws or defects. Profile radiography can be performed to detect the presence of corrosion under insulation (CUI) and remaining wall thickness on thin wall piping.
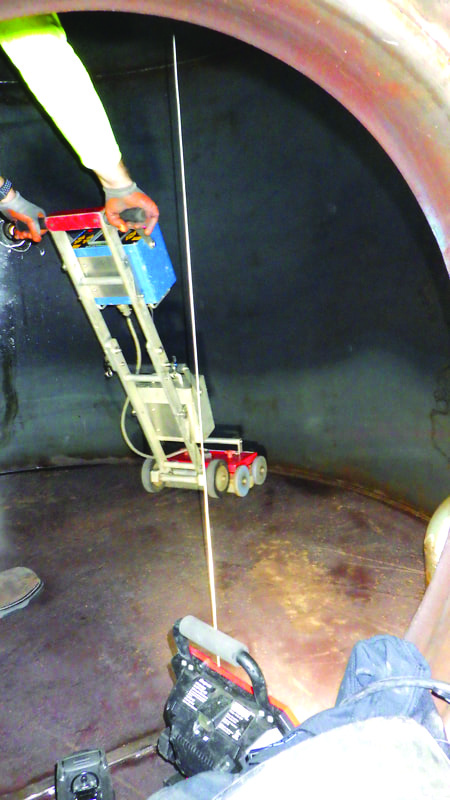
Magnetic flux leakage is a magnetic method of NDT that is used to detect corrosion, pitting and wall loss in steel structures and is commonly used for inspecting tank floors. MFL provides a cost effective and high-speed inspection using permanent or electromagnets to magnetise the tank floor and the resulting magnetic field changes are recorded and analysed. If there is corrosion, pitting or wall loss the magnetic field ‘leaks’ and the ‘leakage’ is analysed to determine the location and severity of the defect.
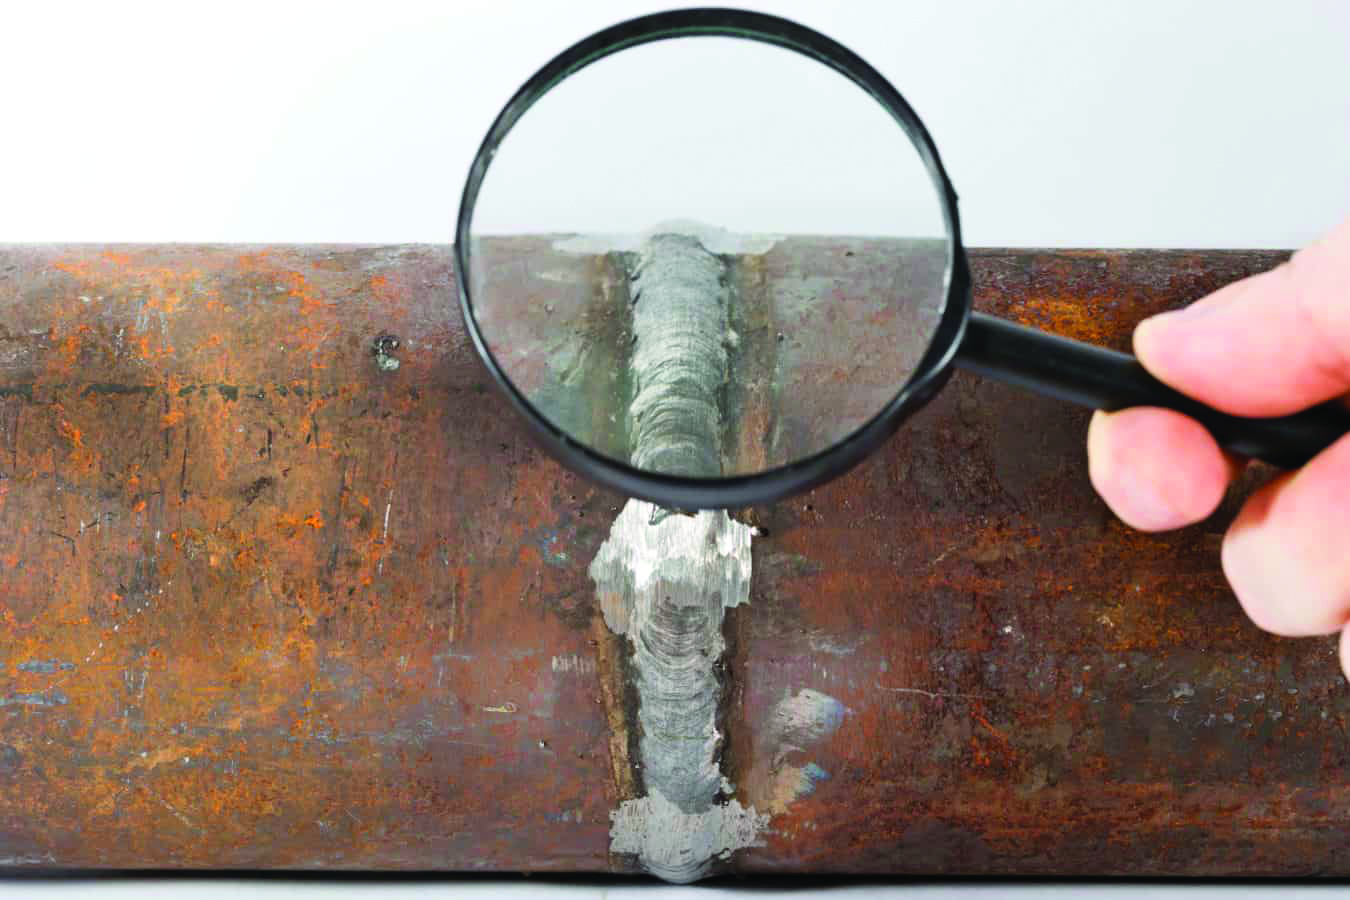
Visual testing is the oldest and most basic method form of inspection. It involves the process of examining a component or piece of equipment using the naked eye to look for flaws. Optical aids such as illuminators, mirrors and borescopes, can be used to enhance the capability of visually inspecting equipment. Visual inspection is routinely used for internal and external surface inspection of a variety of equipment types including storage tanks, pressure vessels, piping, and other equipment.
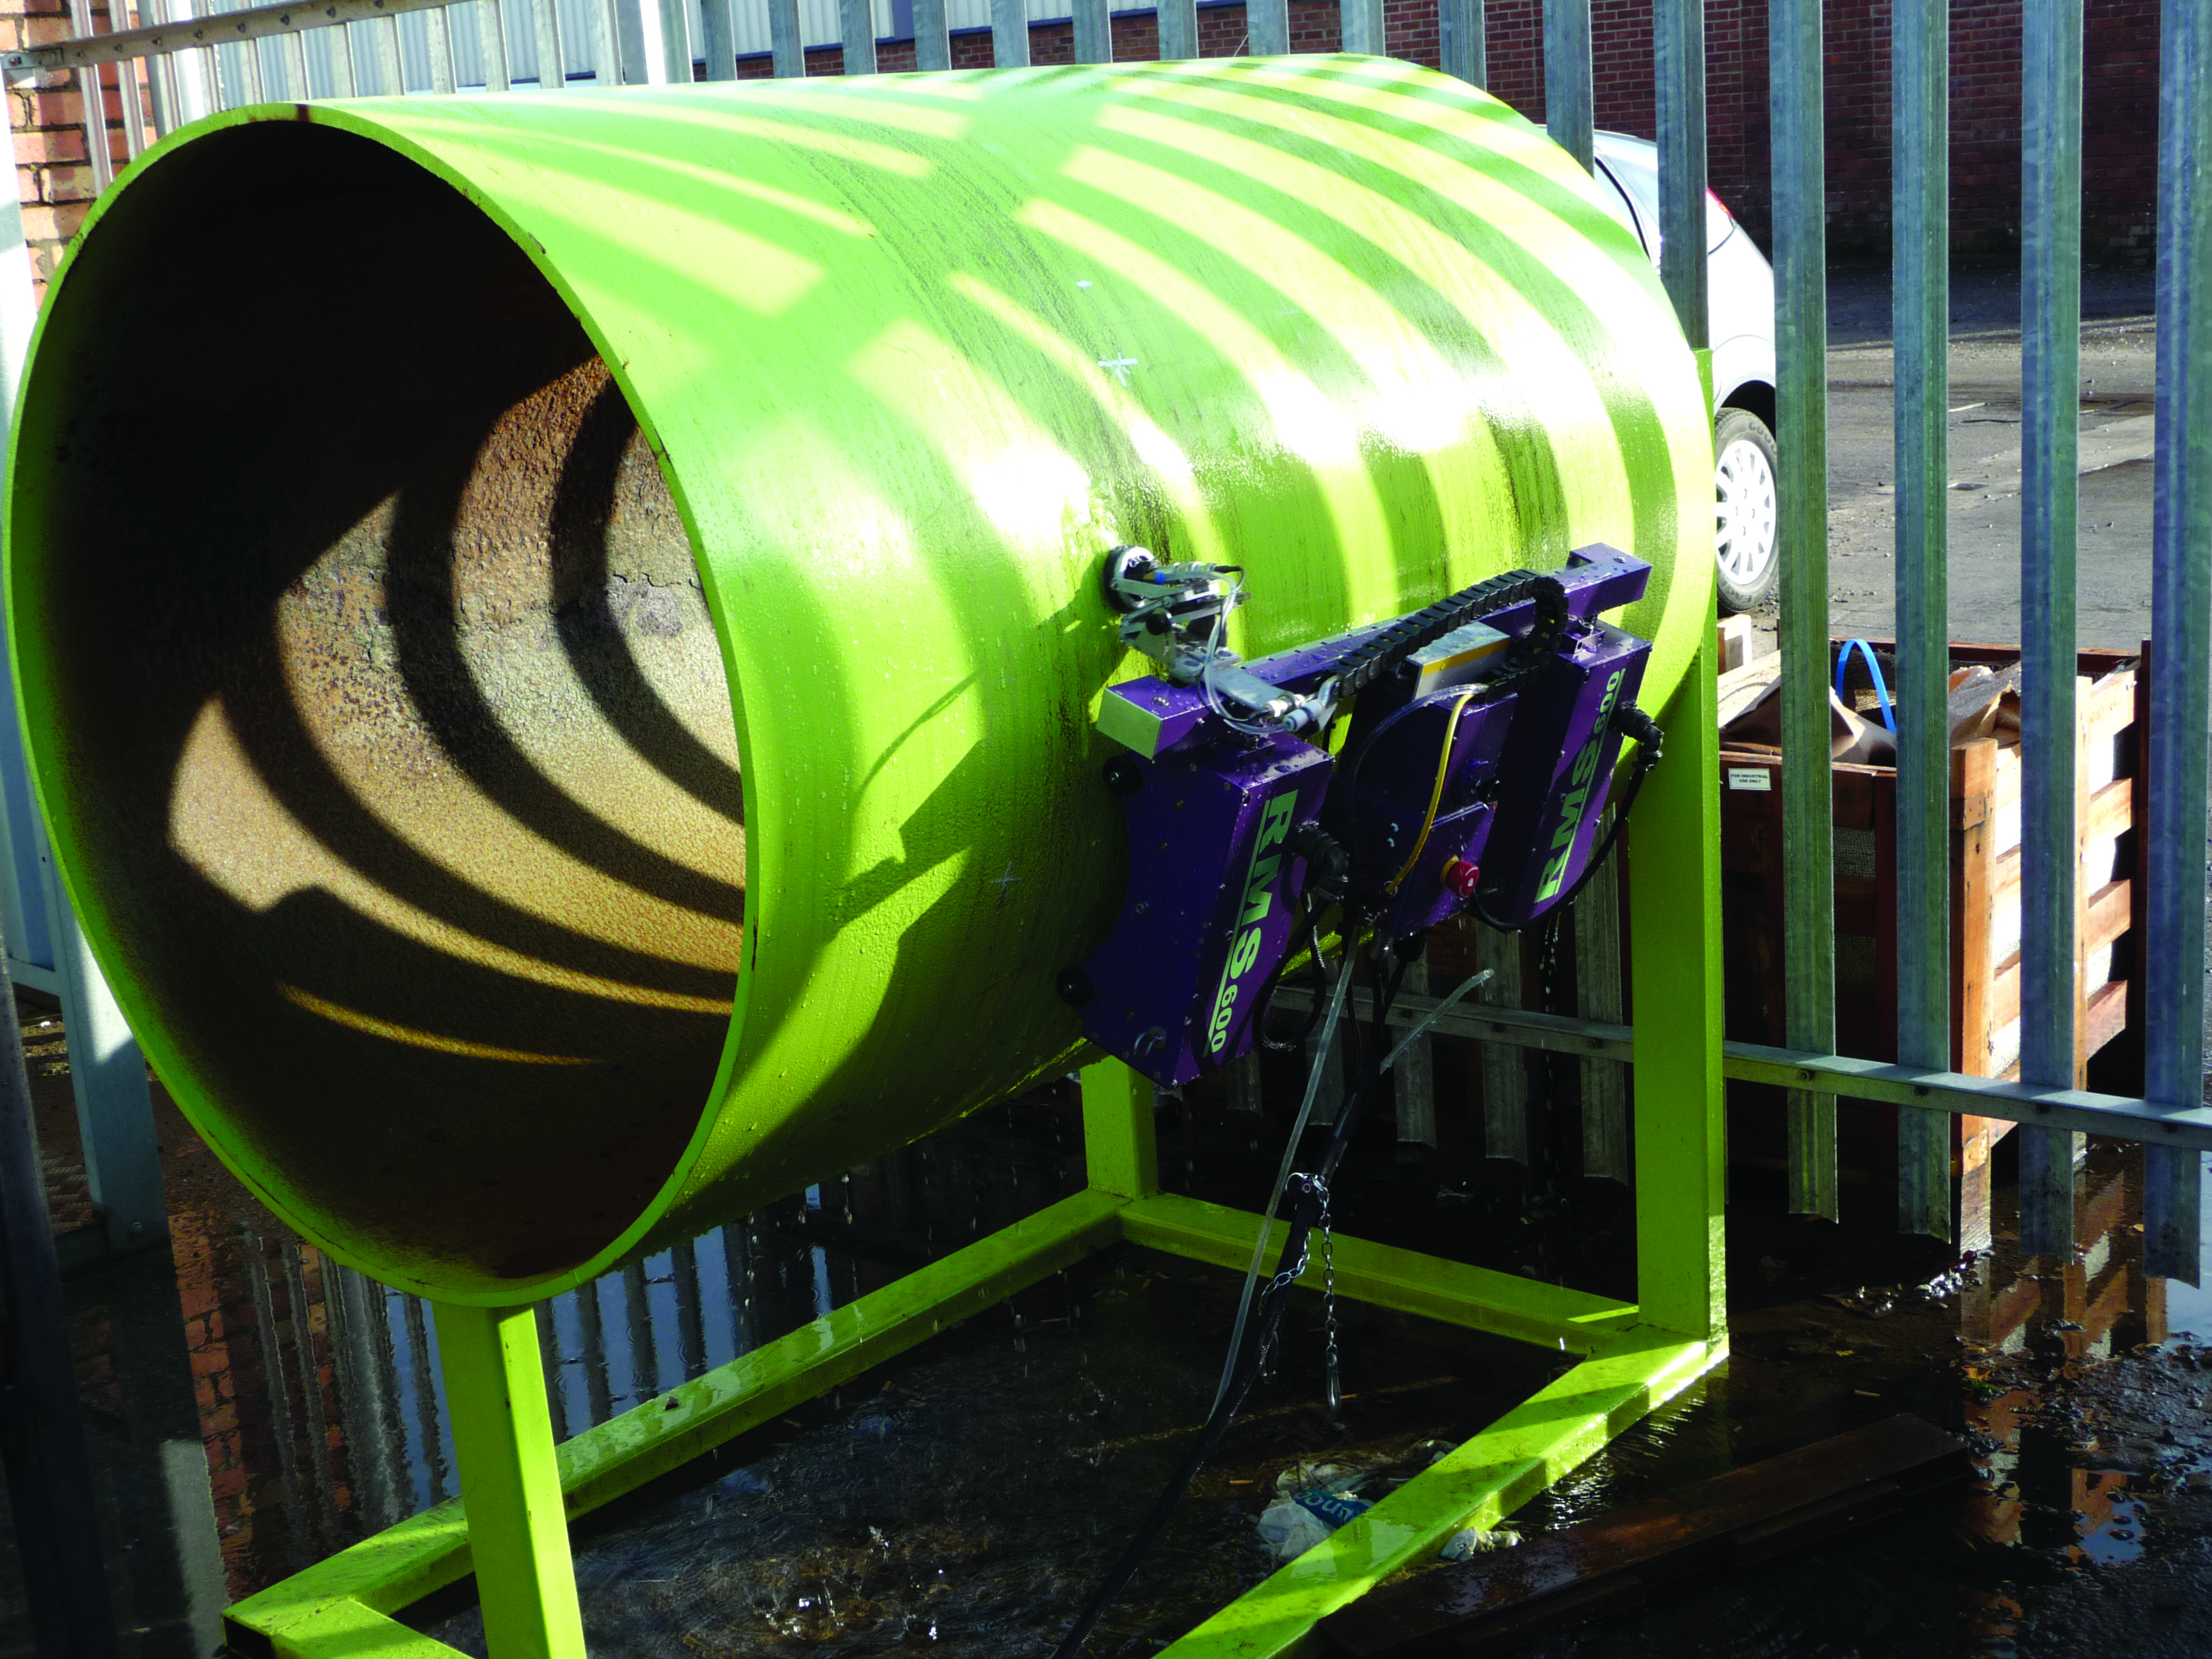
The Silverwing RMS600 Scanner is a high speed, high accuracy remote access ultrasonic mapping system with wide scan data, up to 50m long and 60 cm wide, in one location. The unit can calculate the condition of ferrous structures to ensure effective and safe operation. It is designed to evaluate the condition of ferrous structures such as storage tanks shells and roofs, pipelines, pressure vessels, horizontal storage tanks, ship hulls, spheres and high temperature assets up to 200 degrees celsius.